Lesson 1: Getting Started
Step 1: Install the Lancium CLI
- Create a “bin” folder in the “Home” directory
$ ls

Desktop Documents Downloads

$ mkdir bin

$ ls

bin Desktop Documents Downloads
- Download and install the Lancium CLI in your “bin” folder. The latest version can always be found here: https://portal.lancium.com/downloads/lcli
$ ls

bin Desktop Documents Downloads

$ cd bin

$ ls

$ wget https://portal.lancium.com/downloads/lcli

$ chmod +x lcli

$ ls

lcli
Alternatively:
$ curl -o ~/bin/lcli https://portal.lancium.com/downloads/lcli

$ chmod +x ~/bin/lcli

$ cd bin

$ ls

lcli
Step 2: Create a path to the Lancium CLI
Bash: $ _LCLI_COMPLETE=source_bash lcli > ~/.lcli-complete.sh
$ _LCLI_COMPLETE=source_zsh lcli > ~/.lcli-complete.sh
Step 3: Set up authentication
-
Log in to the Lancium Compute web portal
-
Access the account detail page by clicking on the ‘Account’ link in the main navigation

-
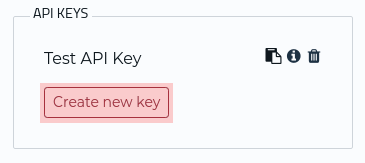
In the API Keys section of the account page, click ‘Create new Key’
-
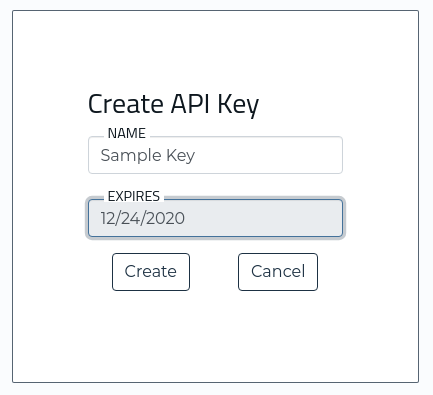
Give the new key a name for future reference and, optionally, an expiration date
-
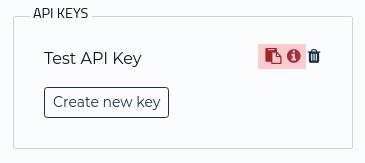
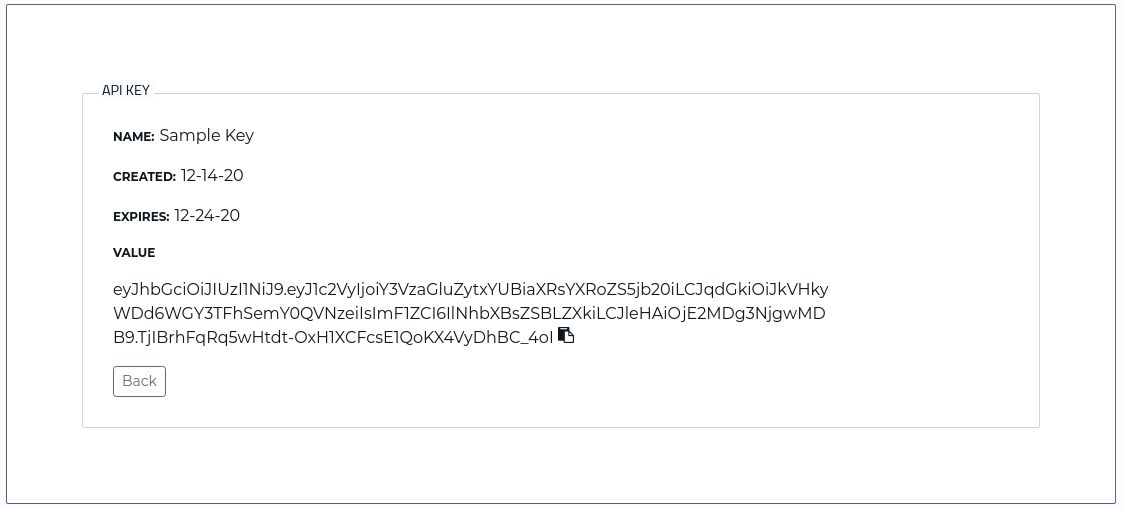
The newly created key can either be copied directly to the clipboard or viewed
-
Using an API key
Once an API key is generated, the CLI can be configured to use it via one of two methods.
Environment VariableThe CLI will look for an environment variable named
LANCIUM_API_KEYand, if found, use the value of that variable to authenticate.Command Line Argumentexport LANCIUM_API_KEY=<API_KEY>The CLI additionally has an option flag that can define the API key to be used
--api-key <API_KEY>Regardless of the option that is used, the CLI will cache the API key credentials, once found, in the configuration file stored in
~/.lancium/lancium.confCached credentials can be overridden on a per-call basis using either the environment variable or the command line flag. If the command line flag and the environment variable are both present, the command line flag will take priority.
Step 4: Learning about general sub-commands
Typing LCLI into the command line shows the following subcommand options:
$ lcli

Usage: lcli [OPTIONS] COMMAND [ARGS]...

Options:
    --help  Show this message and exit.

Commands:
    change_log
    data
    image
    job
    resources
    version
This subcommand will show all released versions of the Lancium CLI (lcli) along with the release notes.
Data:This subcommand will allow you to interact with your account’s persistant data storage. The persistant data storage is where all uploaded user files live. You can upload files to be used for and from jobs to this area, view files saved to this area, and download files saved to persistant storage.
Image:Images are serialized copies of the state of a system. They are essentially the virtual environment that a job will run on. This specific subcommand will allow you to add, update, or delete images, which can then be used when running jobs.
Job:The job subcommand is how a user to submit and run computations.
Resources:This command will allow you to see the different computing resources available to a user when running jobs. It provides information on available GPU types, job resource default values, job resource limits, and available quality-of-service levels.
Version:This command will show the version of the CLI and API that the user is currently running.